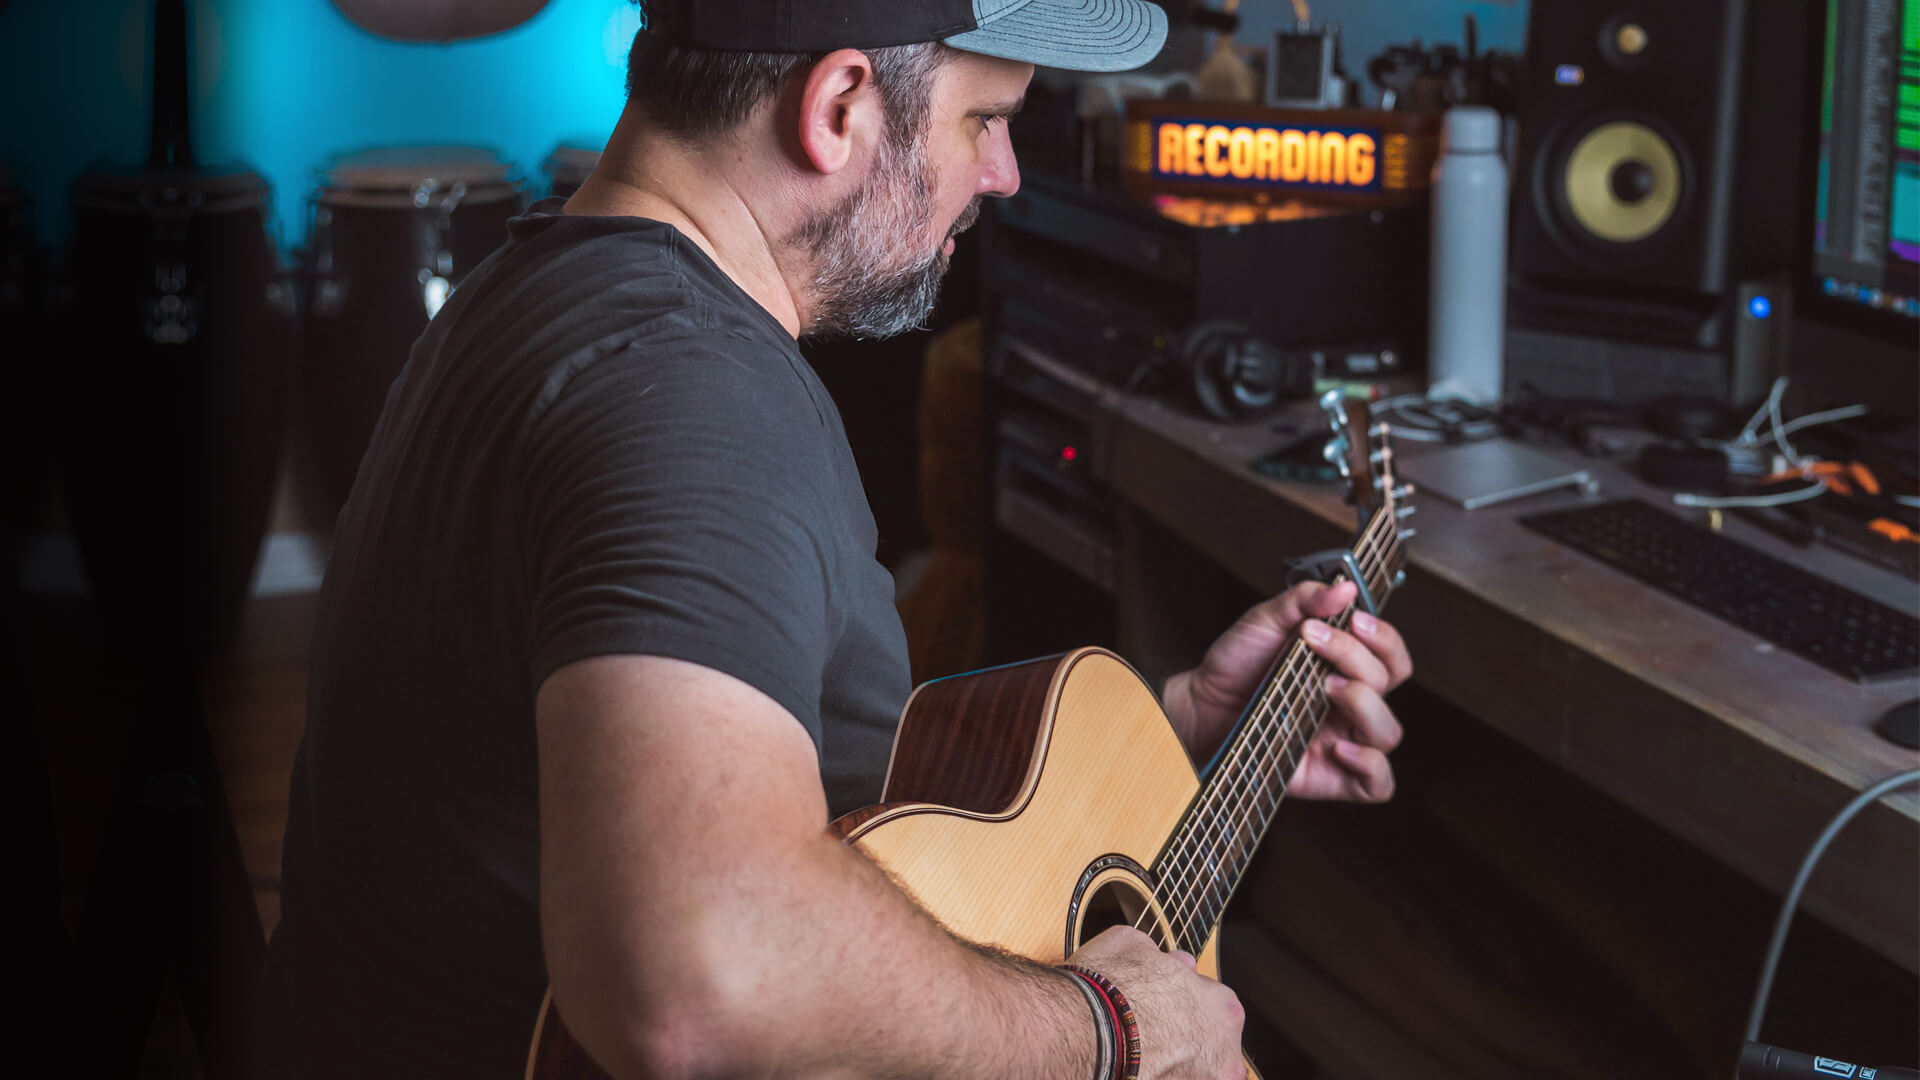
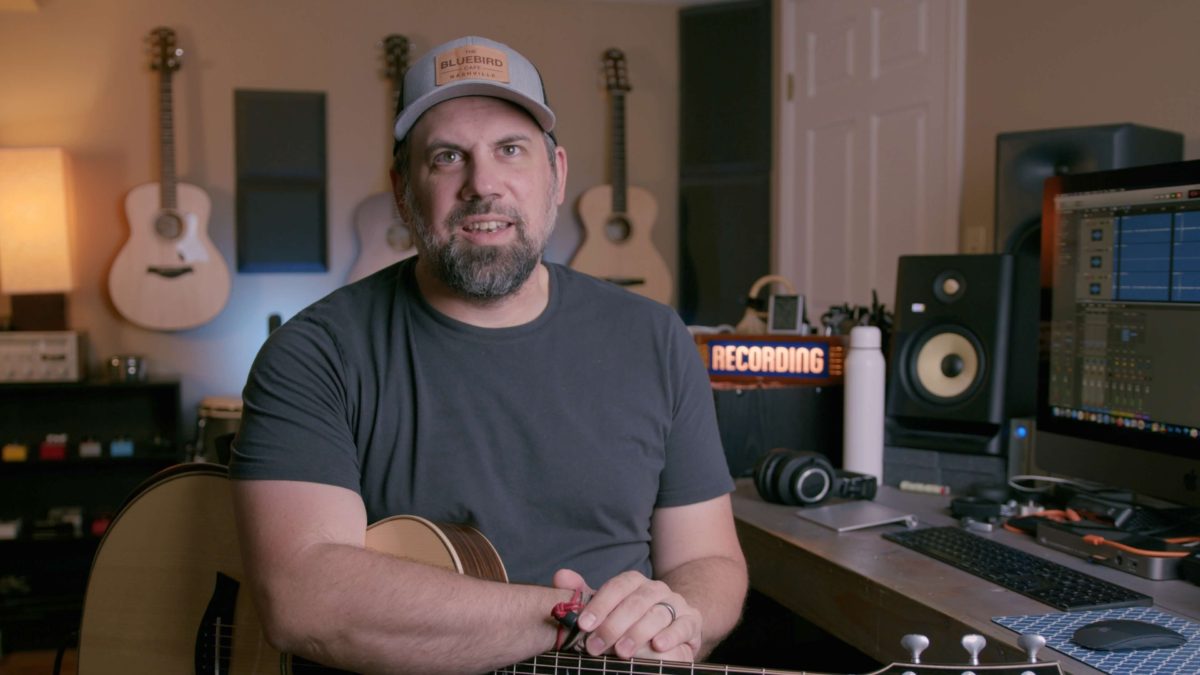
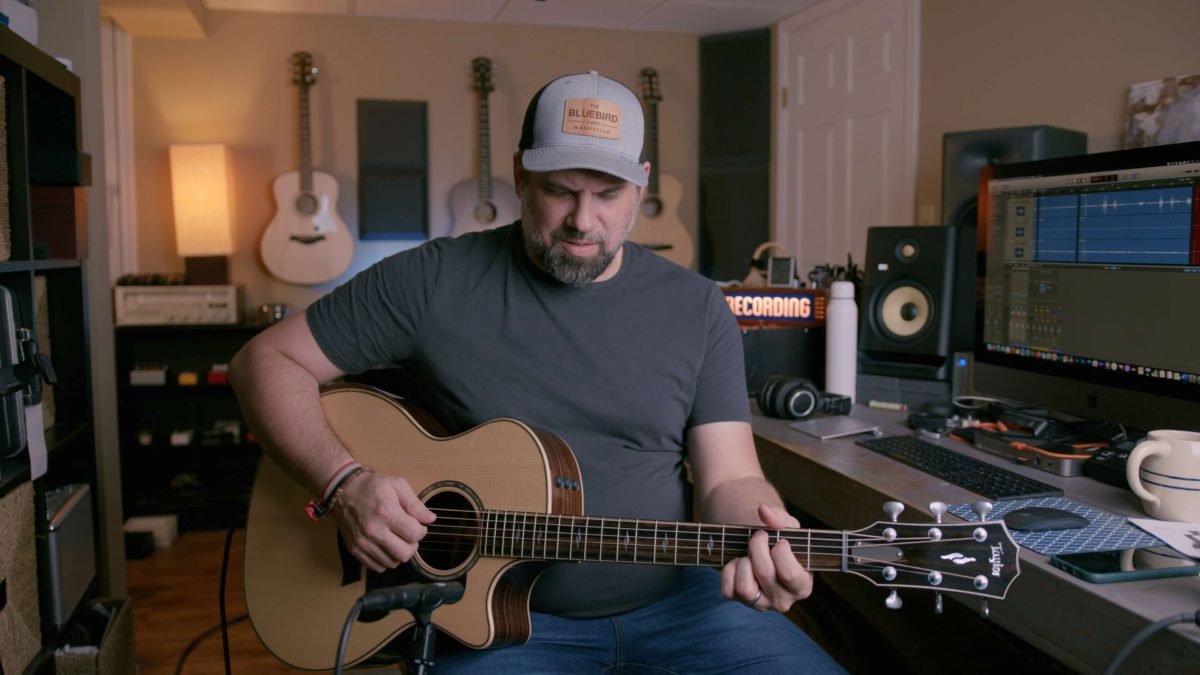
There are a lot of natural progressions in the life of a musician. Learning an instrument, playing with others, performing in front of people, and writing songs are steps many musicians take along their journeys. Often, those steps are now joined by home recording. Recording yourself playing acoustic guitar is a great way to hear where you are in your guitar journey and share music with others.
Home recording has become popularized thanks to innovations in technology and the increased availability of relatively inexpensive equipment. It’s evolved from four-track tape recorders to digital audio workstations, or DAWs, and audio interfaces. When I started out, there weren’t great resources to learn about recording at home. There were a few books you could find at the library, but in the pre-Internet days, resources were scarce. My dad, a singer-songwriter, had long been recording at a friend’s home studio, first on four-track and eight-track tape machines and then on ADAT. Most people were using analog machines or early digital all-in-one systems, though software-based recording was rapidly growing.
My first session in an Akron, Ohio, recording studio was captured to two-inch magnetic tape. My goal was to write and record songs, so I bought an early USB interface and the least expensive condenser microphone I could find locally and began experimenting. That led to a lifelong love of recording that became a big part of my career.
I’ve been extremely fortunate to work with Taylor Guitars on several projects: The Acoustic Sessions, Coffee & Guitars, From the Factory Podcast, and now the Music Together Project (see Soundings in this issue). I’m also one of the administrators of the Taylor Guitars Owners Group on Facebook and help moderate a home recording group.
Let’s say you’ve got your first recording interface and maybe even a microphone. Now what? After a post to my groups, here are a few questions that consistently were asked about recording acoustic guitars.
What’s the best guitar to record with?
Just like choosing guitars to play at home or in a band, tonewood combinations and body shapes play a big role in the end result of your recording. There are no hard and fast rules dictating what you should use. Much like selecting a guitar for yourself, this is all about personal preference. You may like bold strumming for folk and bluegrass sounds and want to try a Grand Pacific with rosewood or mahogany back and sides. You may want the guitar to sit well in a mix and try a 600 Series Grand Auditorium with maple back and sides. You may want to play a delicate fingerstyle piece on a Grand Concert, or something more orchestral-sounding on a Grand Symphony. Or you may want to totally subvert those ideas and use things in a different way. There’s no wrong choice to be made here, only different creative ones. Everyone who knows me knows I’m a big fan of mahogany, having bought a 514ce as my first Taylor back in 2005. I made a whole record with just that one guitar. When I got my Builder’s Edition 517 WHB, that guitar immediately became the center of my “guitarsenal.” Nowadays I tend to use my Builder’s Edition 517 WHB for up-the-middle strumming where I want to hear woody, warm mahogany tones and a rosewood/spruce 814ce for nearly everything else.
“A guitar top moves air, so you want to give some room between the top and the microphone so you can capture some of that.”
What’s the best way to mic an acoustic guitar?
Where you place a microphone matters far more than what microphone you use, and moving a microphone during the recording process is a far better solution than anything you can do after the recording is made. Understanding how to capture the best sonic picture of your guitar to fit your purpose is a great place to start.
If you’re recording acoustic guitar for an instrumental piece, you may use several microphones to capture the full range of sounds emanating from your instrument to give the listener an immersive experience and capture the sound of not only the guitar, but the room it’s recorded in. Sometimes engineers will use two of the same microphone in a stereo position like XY, which is roughly the way your ears hear, to place the listener right in front of the guitar. In a pop or rock mix, you may only use one microphone to capture the guitar, focusing instead on its percussive qualities to cut through a mix. I typically use anywhere between one and three microphones on acoustic guitar. But my starting point is nearly always the same.
If you’ve Googled “recording acoustic guitar” or searched YouTube, you may have seen or read about placing a microphone somewhere around the twelfth fret of the guitar, or somewhere around where the neck meets the body. This is to avoid pointing a microphone directly into the soundhole of an acoustic guitar, which results in a big “puff of air,” which Andy Powers talked about extensively when the new Grand Pacific models launched.
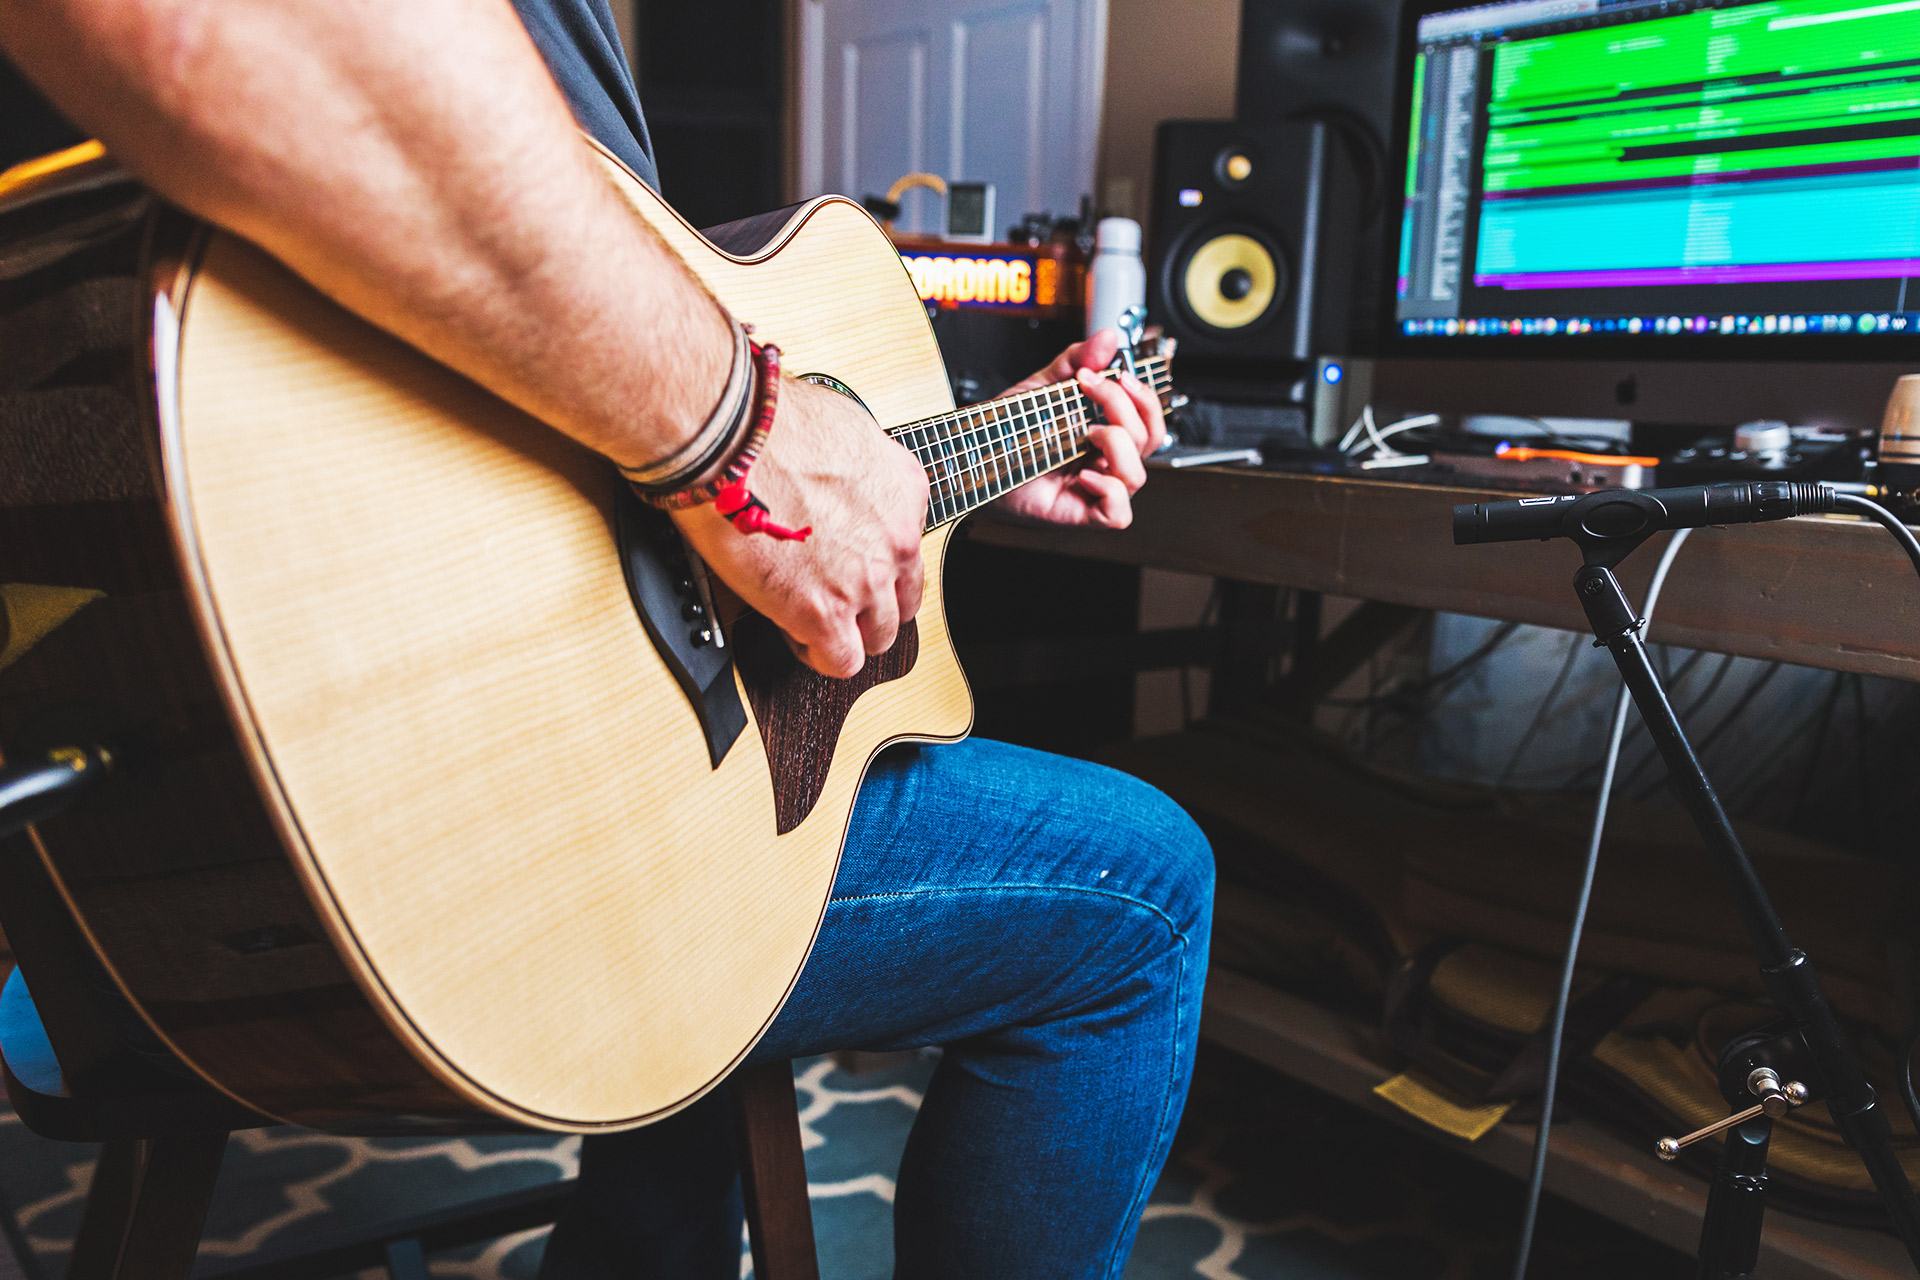
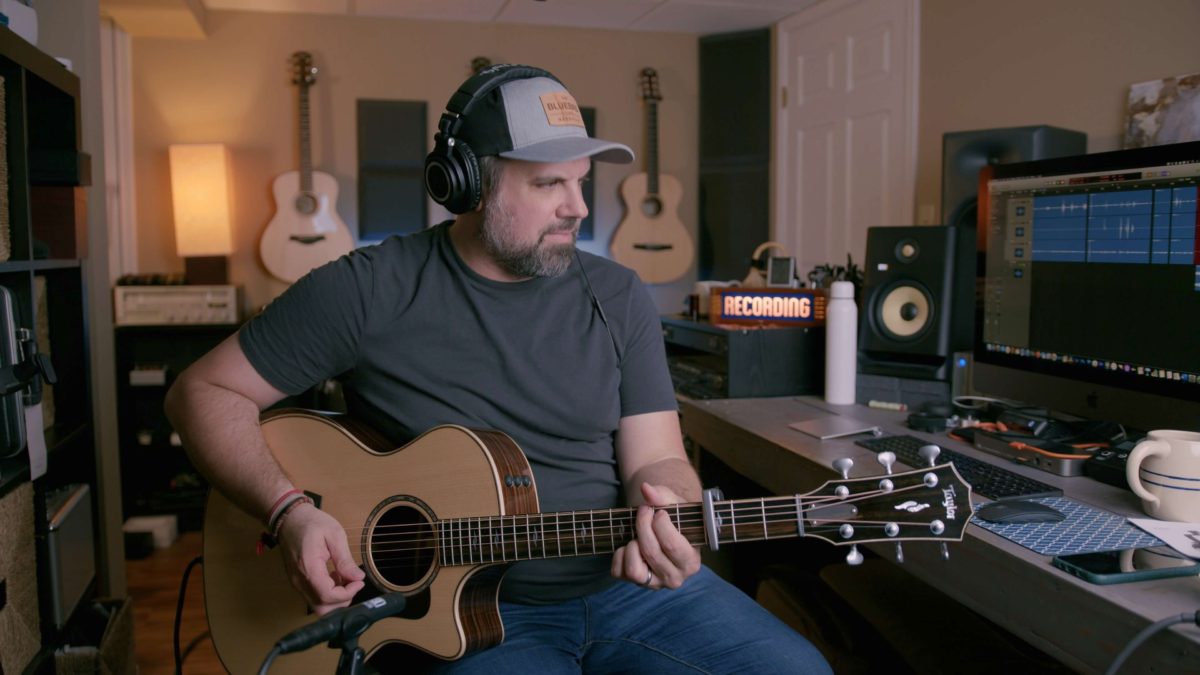
I have a slightly different starting position. I like to begin with a microphone aimed at the treble side of the upper bout of the guitar — the cutaway region — from approximately 12 inches away. I’ll angle the microphone slightly away from the soundhole if I’m getting too much boom on the guitar. When someone tells me their guitar sounds too bright or stringy as they’ve recorded it, microphone placement is the first thing I ask about. More often than not, I find they’ve aimed at the standard twelfth fret region but with the microphone only a couple inches from the guitar’s neck, eliminating all the body and resonance. Keep in mind as you try microphone positions that a guitar top moves air, so you want to leave some room between the top and the microphone so you can capture some of that.
What’s the best microphone for acoustic guitar?
That’s a question I commonly see asked in home recording studio forums and Facebook groups. There are three key types of microphones people commonly employ to record acoustic guitars.
Dynamic Microphones
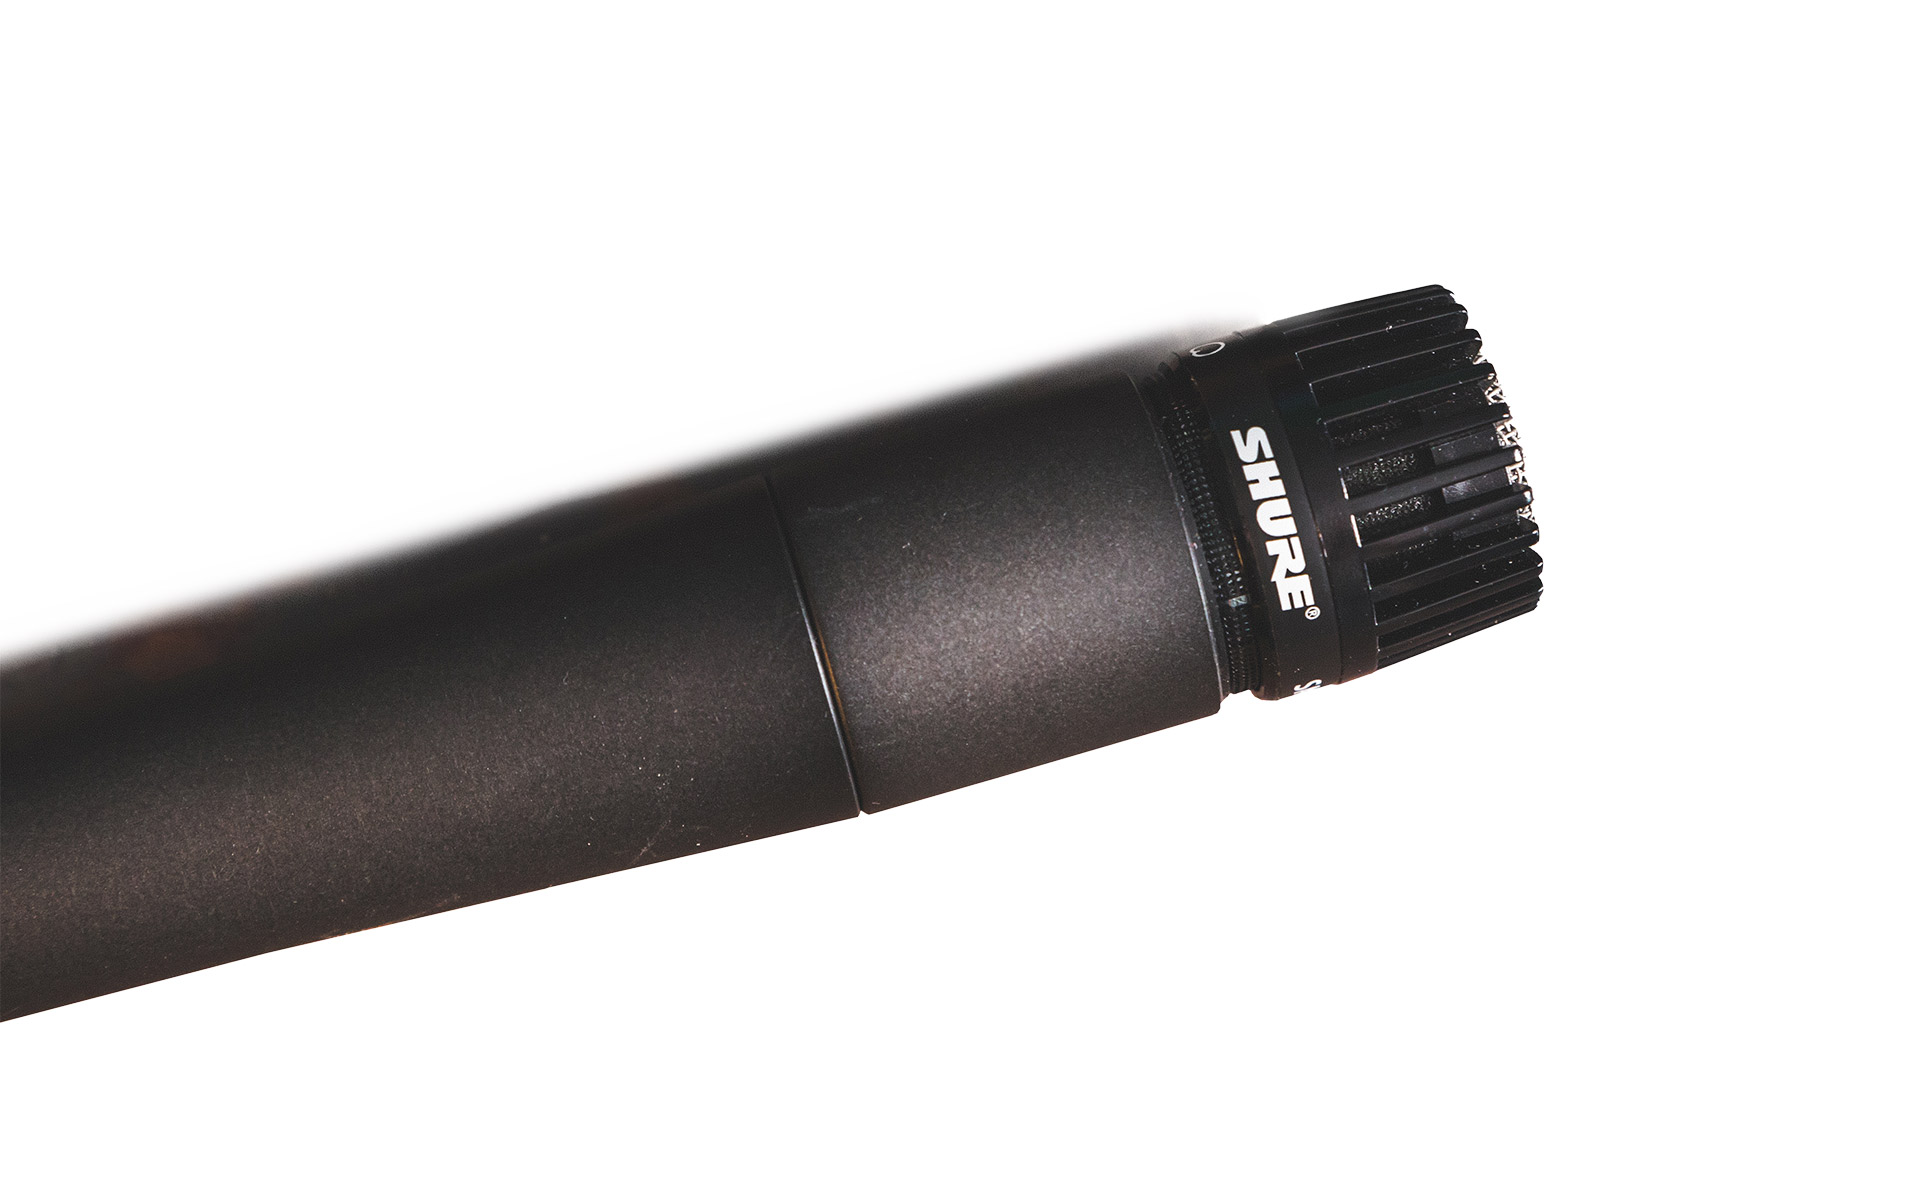
Dynamic microphones, like the ubiquitous Shure SM57, feature a moving coil glued to a diaphragm — a membrane — attached to a magnet. When sound waves hit the diaphragm, it vibrates, much like how a speaker cone functions, and the coil moves with it. The movement of the coil alters the magnetic field and is converted into an electrical signal. This requires higher sound pressure levels to produce sound, so often you see these mics used during live performance, but you can also use them to record. Dynamic microphones do require significant gain to capture quieter sources like acoustic guitars, as opposed to louder sources like snare drums and electric guitar amps. These microphones are unidirectional, meaning they only “hear” sound from one side.
Ribbon Microphones
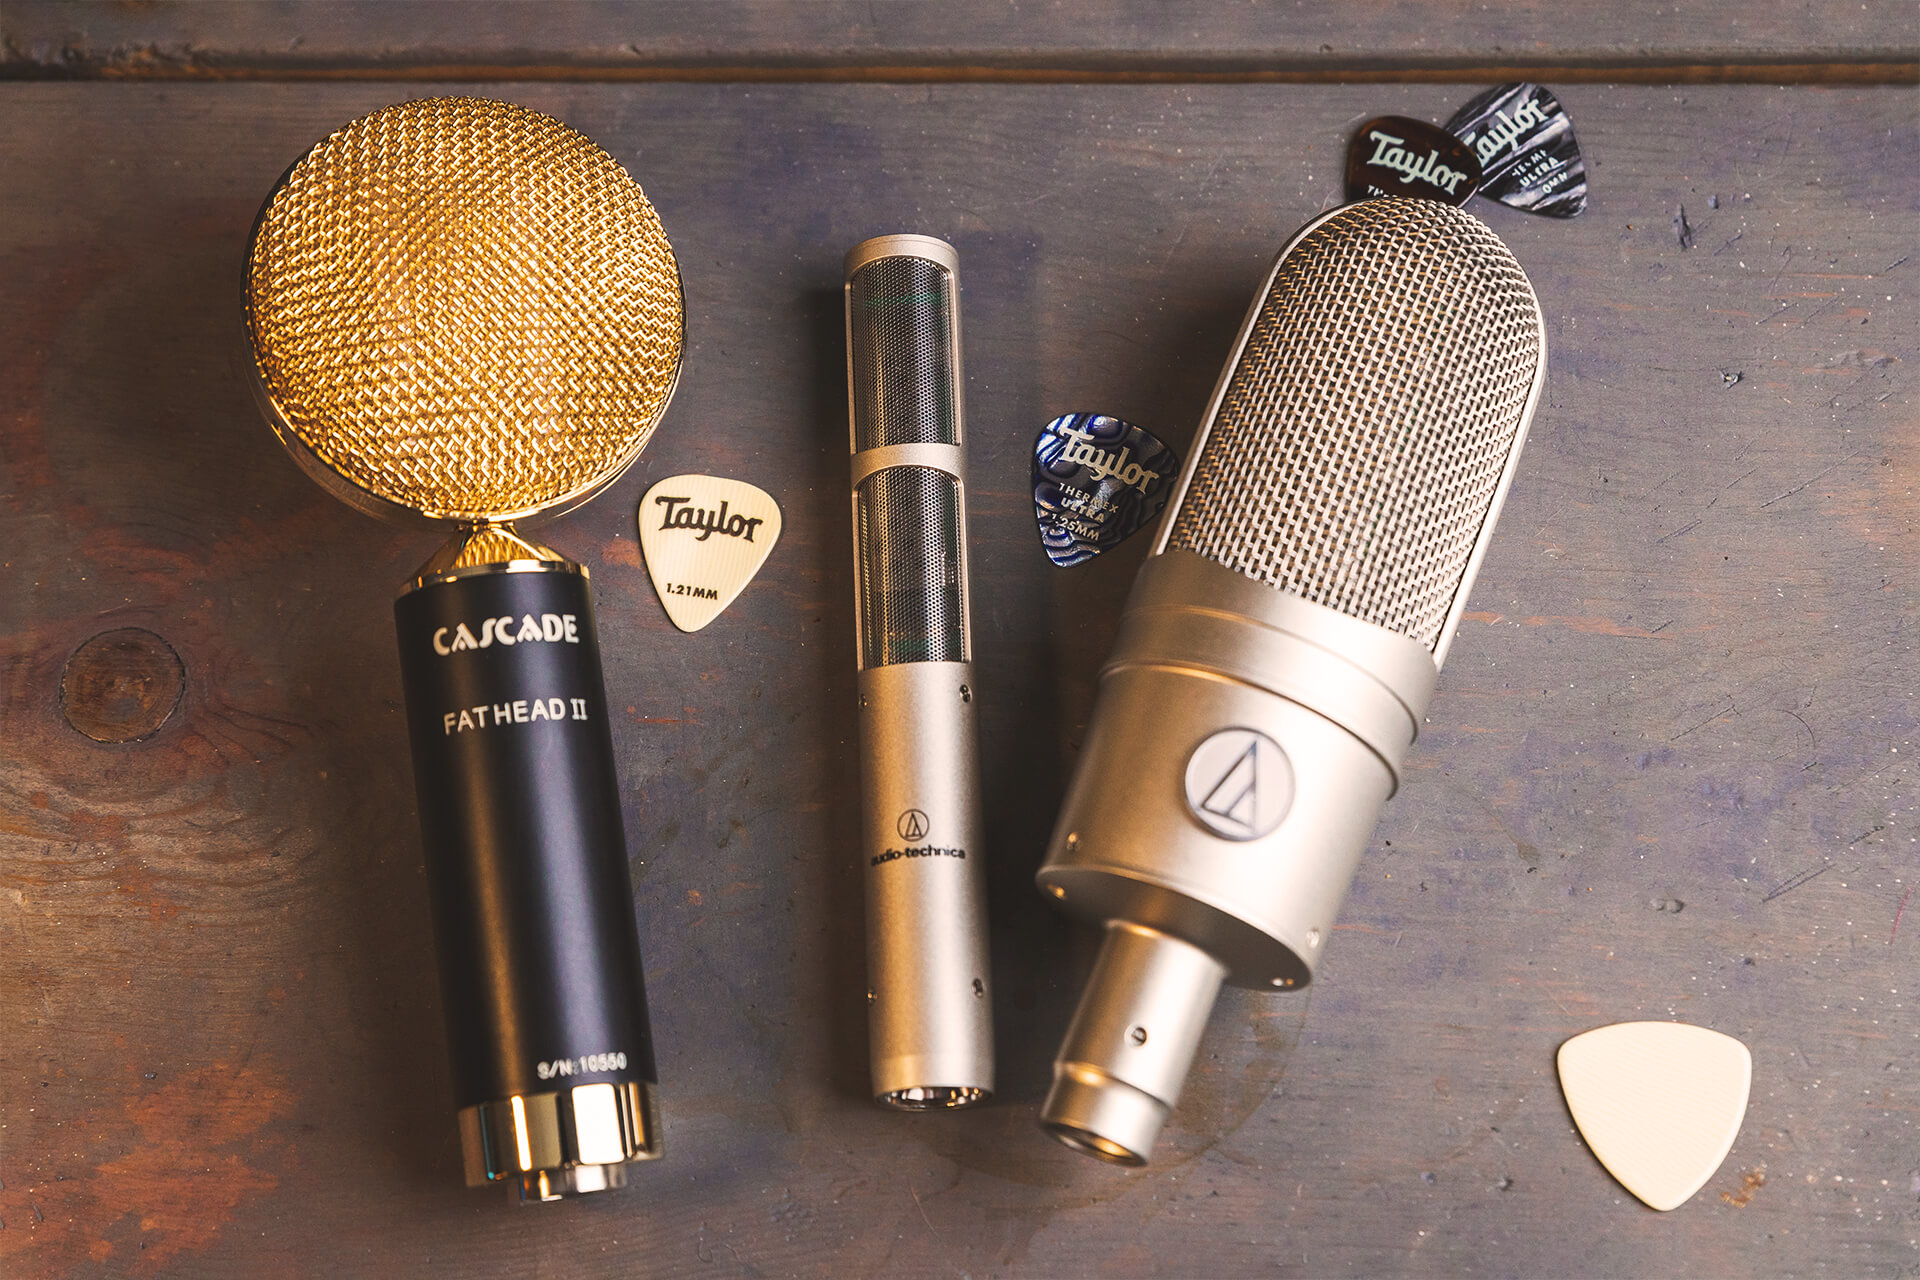
Ribbon microphones, like the Royer R-121, follow a similar principle, but instead of the diaphragm and coil use a thin piece of metal foil suspended in the middle of the microphone. Because of this, ribbon microphones are bi-directional, meaning they pick up sound from both sides. Ribbon microphones, like dynamic microphones, generally require a lot of gain. An exception to this is the Audio Technica AT4081, which utilizes 48v phantom power, a current that runs back up the microphone cable from your interface or console.
Condenser Microphones
Condenser microphones, like the Shure SM81 or Audio Technica AT4040, are a bit more complex. They use a diaphragm coupled with a metal plate that is electrified and run through a circuit that internally strengthens the signal, giving it far greater sensitivity and output. All condenser microphones require phantom power (save a few that offer a battery operation for remote use). Condenser microphones are also typically denoted by the size of their diaphragm, and though one isn’t necessarily better than the other, large-diaphragm condensers have slightly less noise, while small-diaphragm condensers preserve slightly more detail. Some condenser microphones can be made multi-directional by placing two diaphragms back-to-back.
The truth is there’s no such thing as a best microphone. There is a wide variety of microphone types that can serve to color your sound in a range of ways. If you’re just starting out, a small-diaphragm condenser is probably the easiest of these to use. An interesting new option is a condenser microphone that pairs digital modeling technology in the form of plug-ins with microphones to change their characteristics to those of other microphones. Slate Digital’s ML-2 is a great and inexpensive way to get a lot of sounds out of one microphone.
Can you plug in your guitar to record it?
If your acoustic guitar has an onboard pickup, you have another easy way to capture a recording of it. I’ve had great success working with Taylor’s ES2 electronics. While a microphone will capture the most natural voice of the guitar, the onboard ES2 pickup system is a great way to get started and can be a great addition to using a microphone. In fact, anytime I’m recording instruments at a video shoot like the Acoustic Sessions videos, I always take a guitar cable and a direct box so I can record from the pickup along with any microphones I’m using. This gives me a backup audio source if there’s a noise in the room or the artist tilts or rotates away from the ideal microphone position. It can also be of help if someone plays delicately or plays a lot of single-note runs because the pickup will add definition. A direct box converts the high-impedance signal of a standard instrument cable to a low-impedance signal of a microphone cable. Some recording interfaces even have a dedicated DI built in as an instrument input. In fact, the intro guitar lick heard at the beginning of every Acoustic Sessions video is my 814ce plugged in and recorded solely via the ES2 pickup.
It’s important to note that getting a recording of a pickup is a bit different than hearing it out of a PA system, where it’s passed through a sound board, EQ, compression and speakers moving air into the room where you’re standing. This is easily addressed in the mixing stage and is still a great option for recording. I hope this helps you get started down the road to recording your guitars. Like playing guitar itself, recording and mixing audio is its own skill set to develop and enjoy, and a wonderful way to capture and share music.
